How do I add or adjust my image logo?

For steps on how to add your logo to your website or to adjust it once added, please see below.
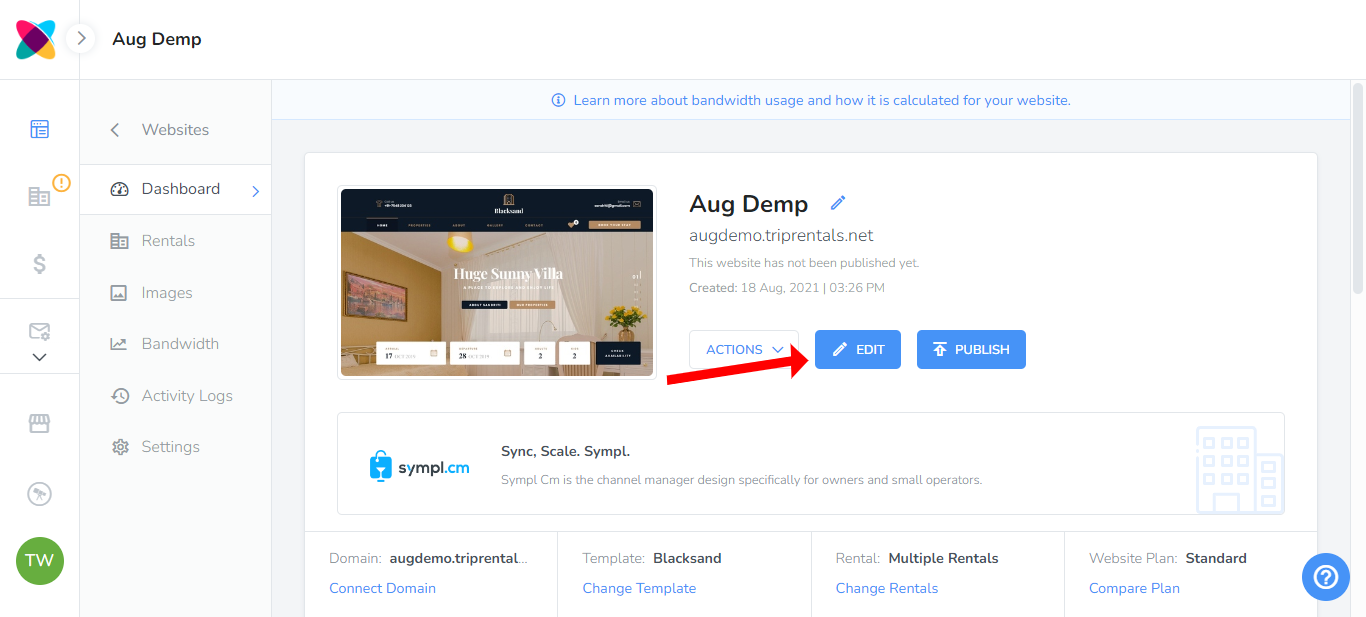
- First, you must go to the Editor by clicking on the “Edit” button on your website details page.
Uploading your logo image
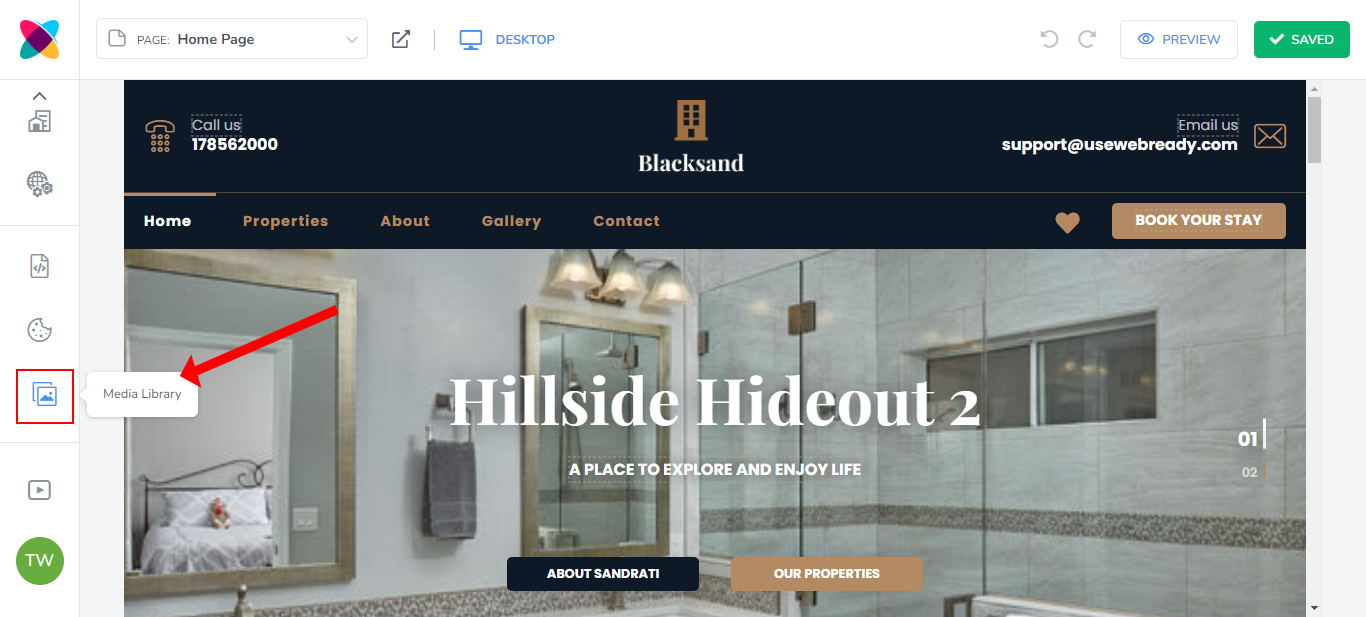
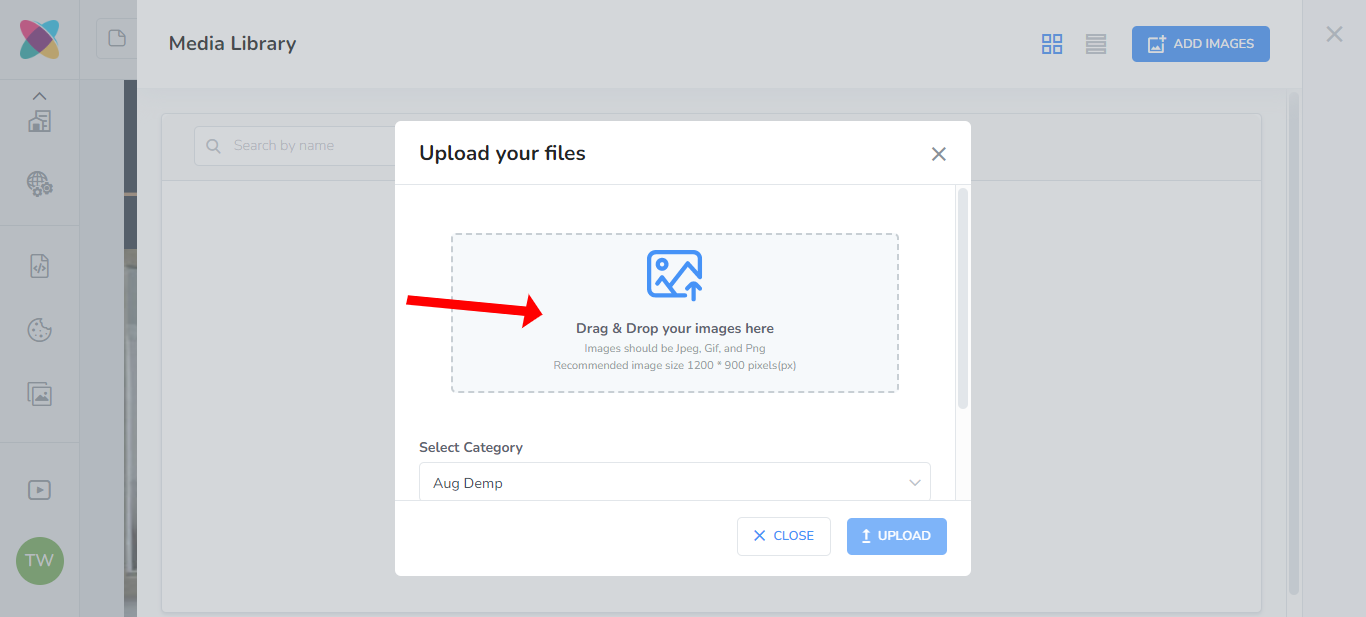
- If you have not yet uploaded your logo, click on the Media Library tab
- Click on the Add Images button.
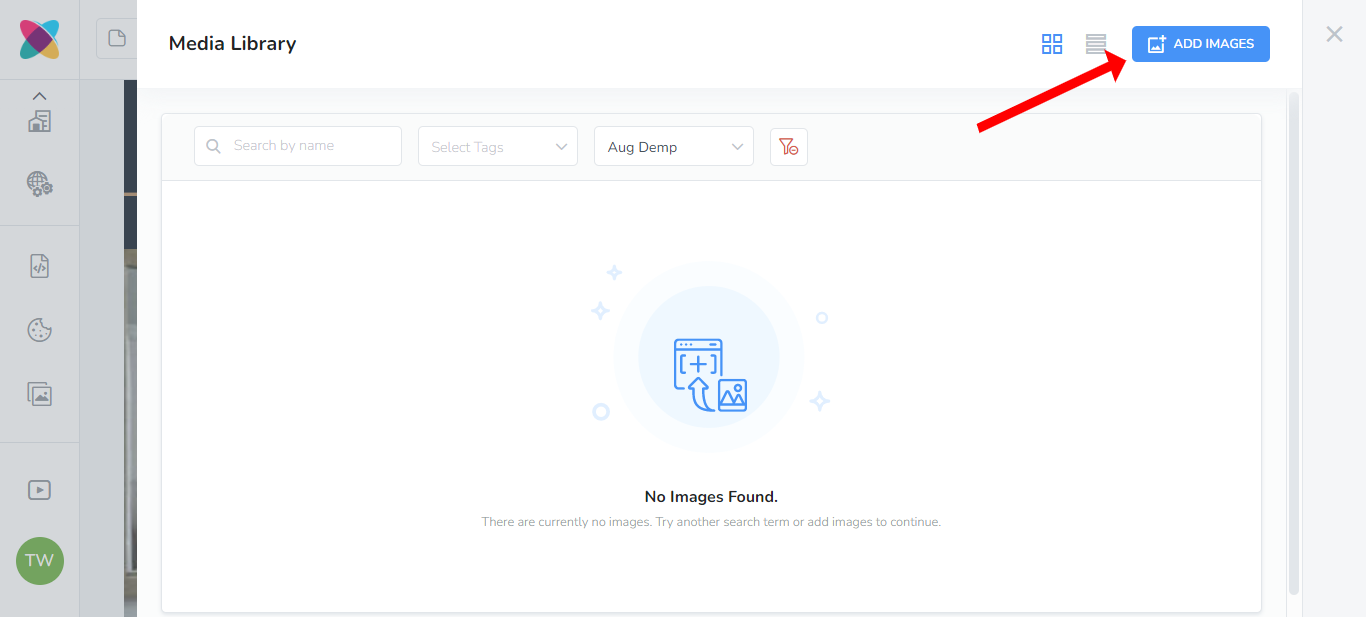
- Drag and drop or select the image you wish to use as your logo.
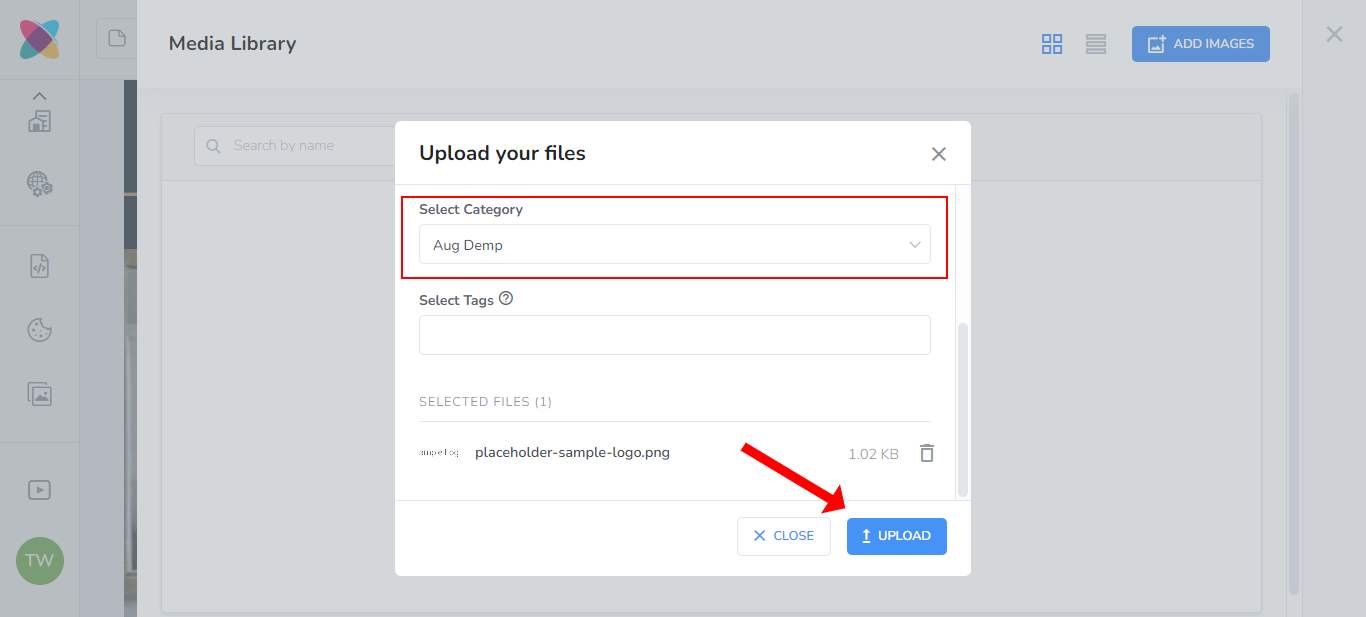
- Select the category that your logo image will be saved under and click Upload. The default is the website name.
Adding the logo to your website
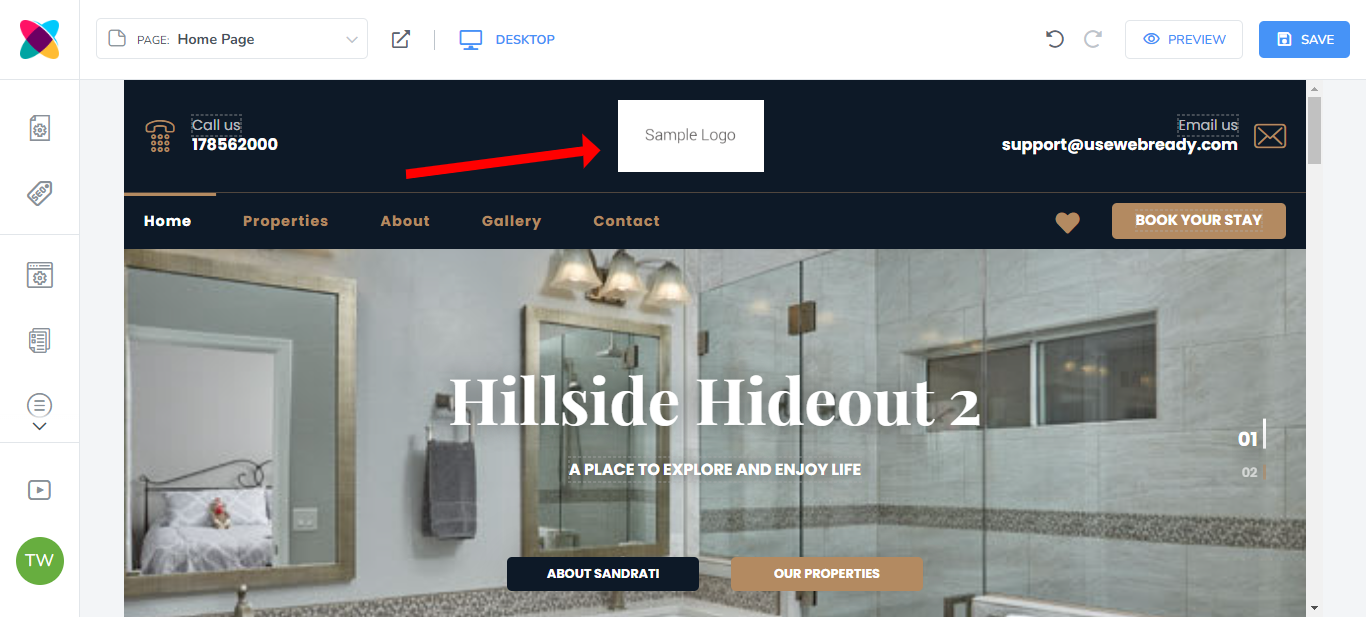
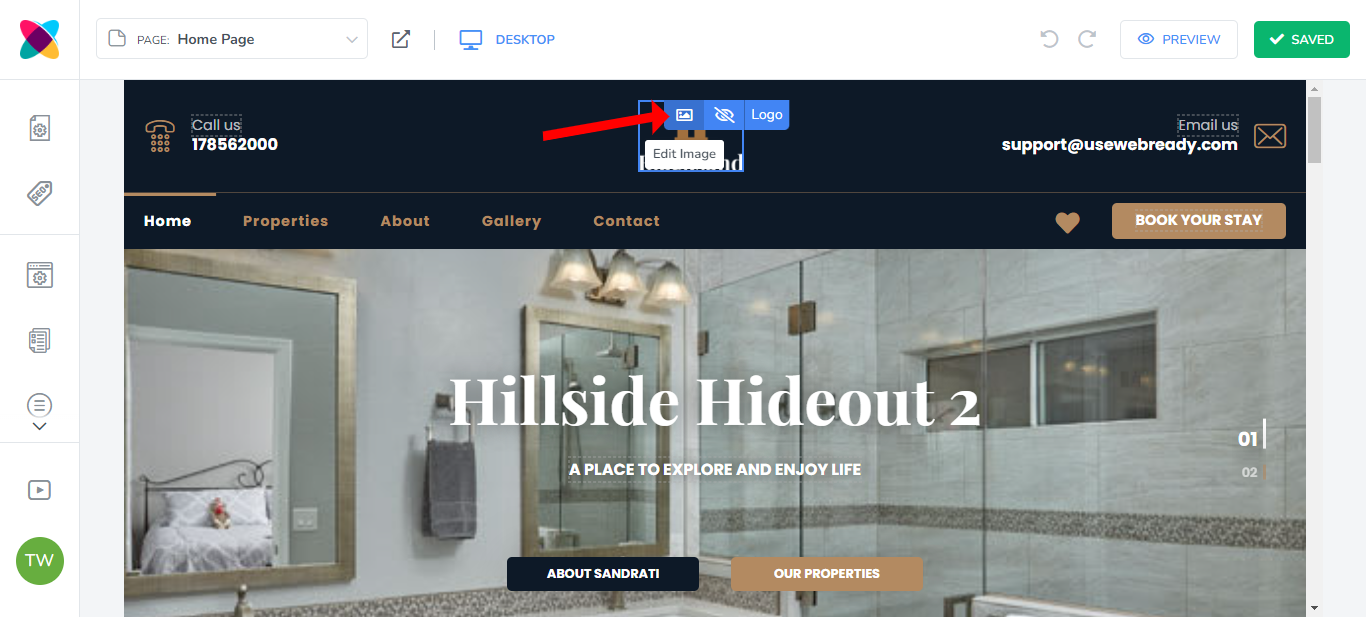
- Locate the logo image on your website and hover over it to see the “Edit Image” option.

Note: If you cannot see a logo on your website, it may be set to hidden in the Global Settings. Go to Global Settings in the left navigation bar, click on the Logo & Favicon tab and ensure that Logo Visibility is set to “Visible”.
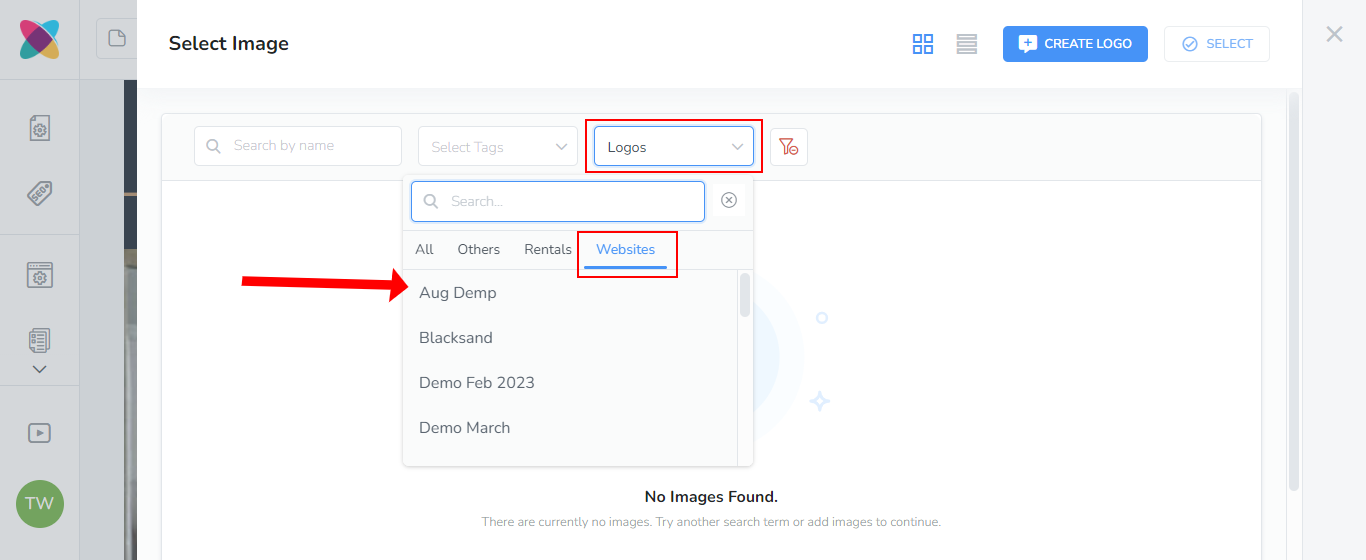
- Select the website or rental name from the dropdown list to locate the logo image.
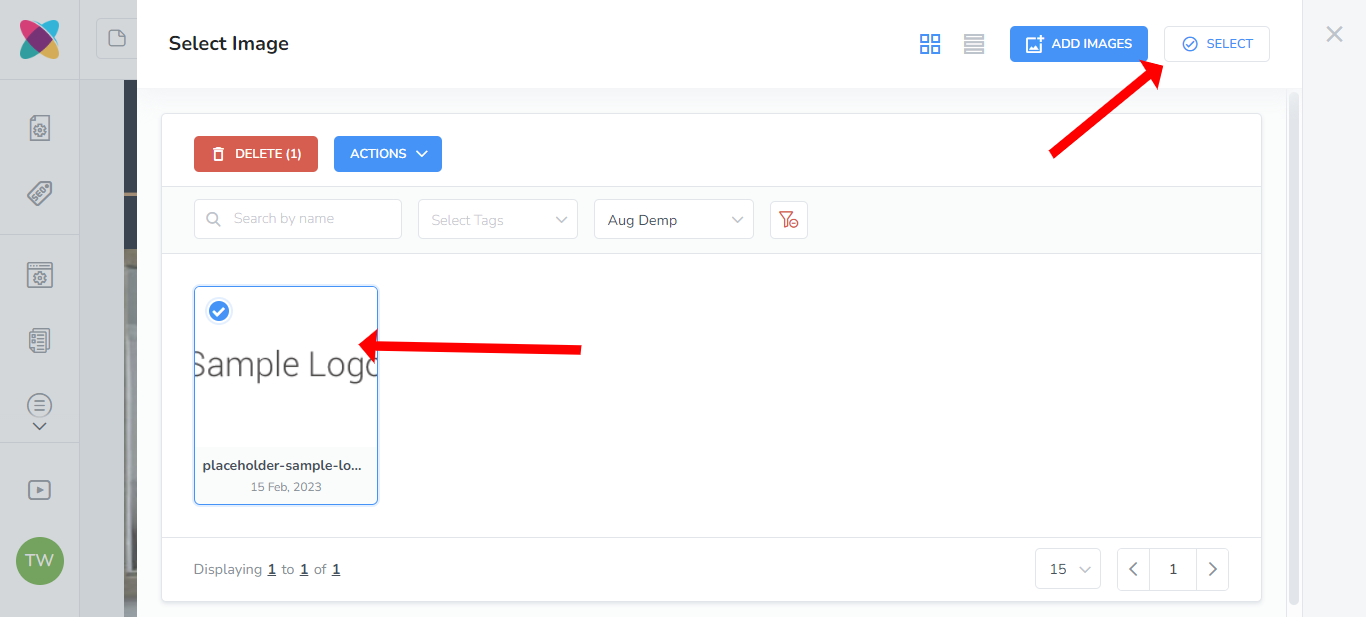
- Click on the image and click on the "Select" button.
The logo will now be displayed on the website.
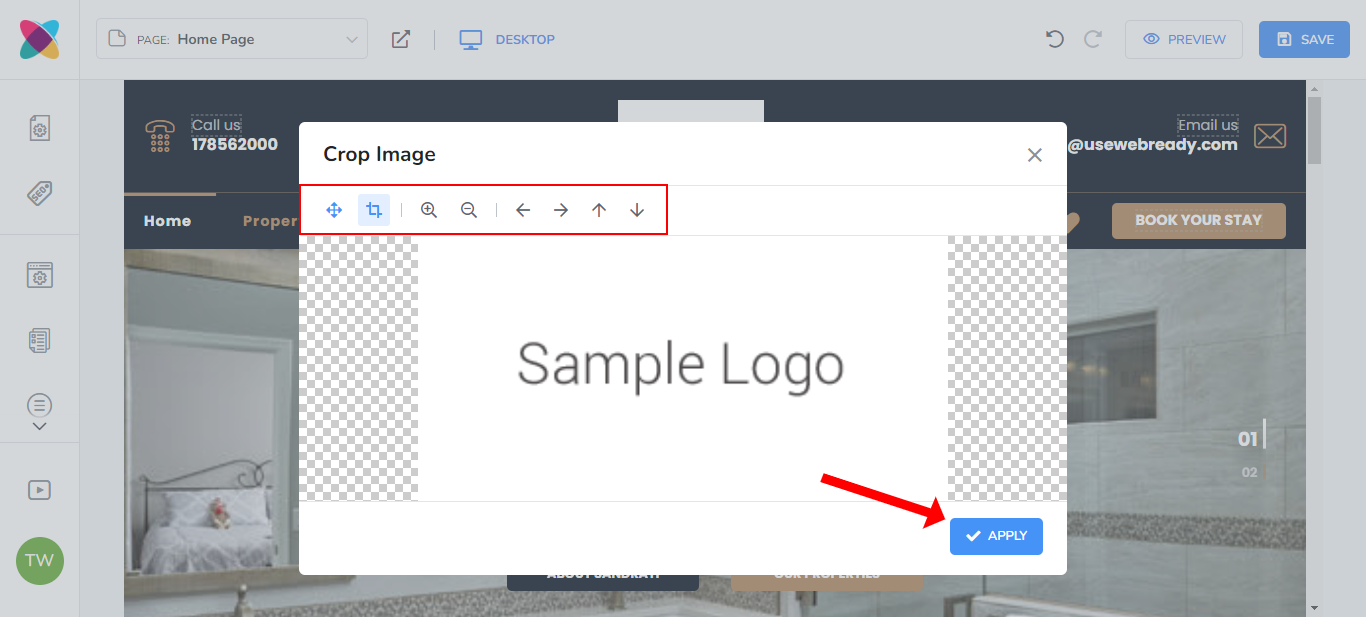
Adjusting your logo image
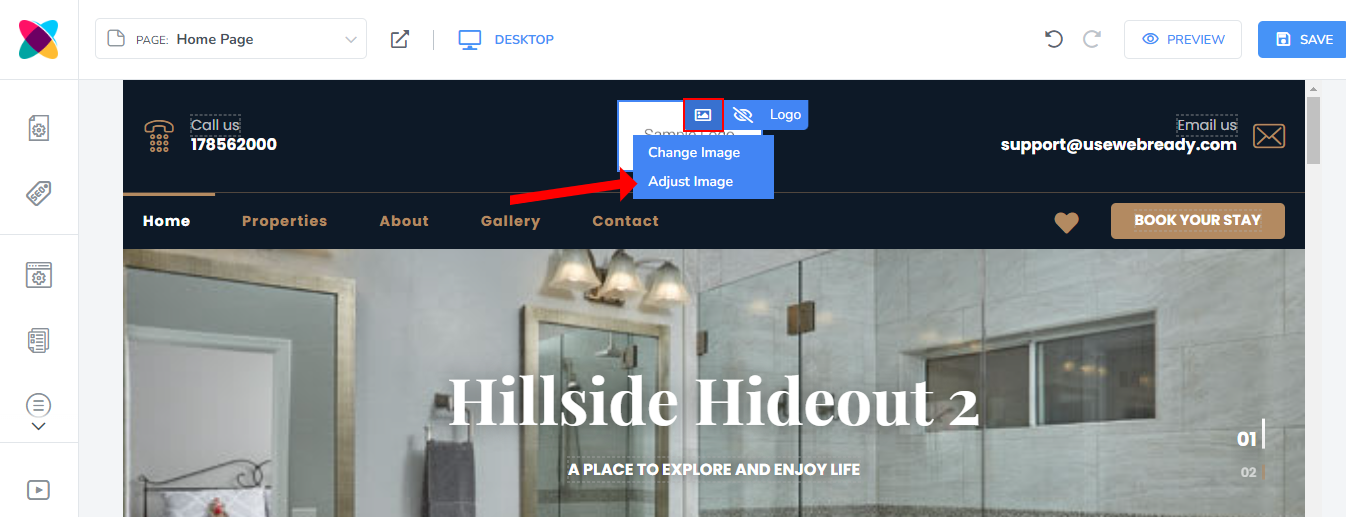
- Locate the logo image on your website and hover over it to see the “Edit Image” option.
- Click on "Adjust Image".
You would then have icons for the following options available:

Move
Crop (cropping the image will make it appear larger on your website)
Zoom Image In
Zoom Image Out
Move Image Left
Move Image Right
Move Image Up
Move Image Down
- After applying your changes, click on "Apply".